Creating an event
To create a new event, go to the /events section and click New Event.
Creating a basic event
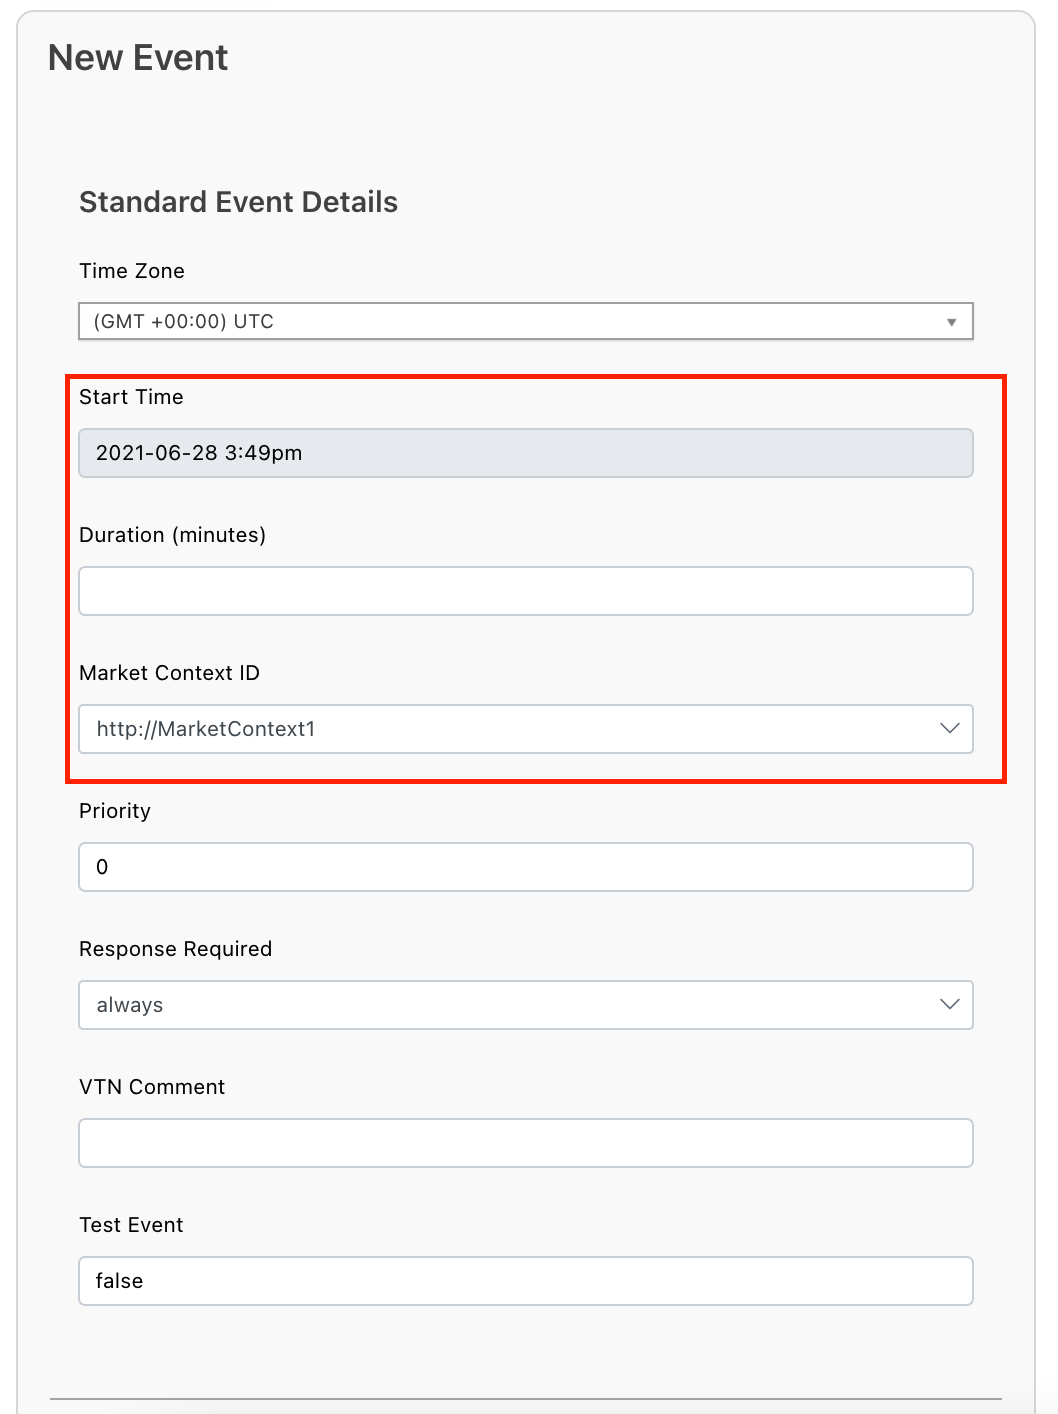
The first screen will be to enter basic information about the event. The most important pieces of information are:
Event Details
- Start Time: will default to the current time. Also note the time zone, to ensure the time is set as expected or your event will execute at the wrong time.
- Duration: the full length of the event.
- Market Context ID: should be recognized by the VEN. Additional Market Contexts may be created in the VTN Config settings.
The other fields are standard OpenADR fields but not often changed.
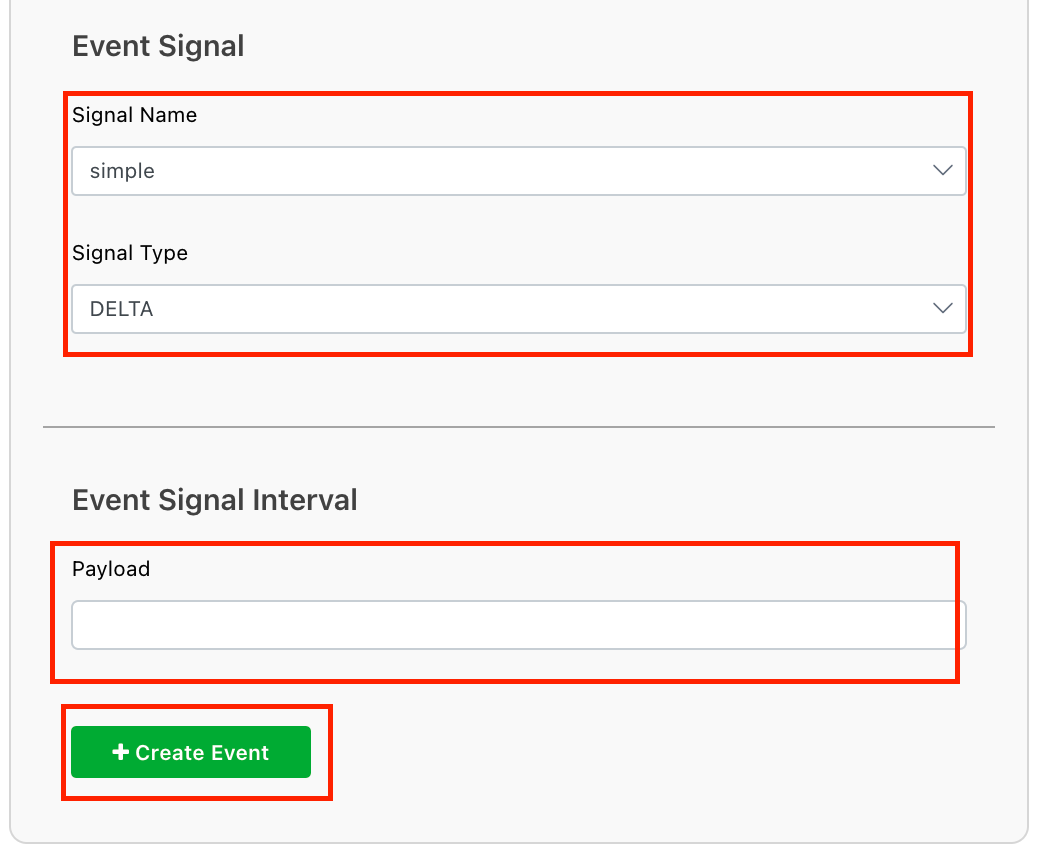
Event Signal
Enter signal name, type and payload. While Canvas lets you enter any combination of signal name and type, there are a set of pre-defined signal names and types that will be valid for any certified VEN - see here for the list. Invalid signal names and types may be rejected or ignored by the VEN.
OpenADR events may include multiple intervals per signal, and multiple signals per event. To further customize signals and intervals, first click Create Event on this page and then see the signals and intervals section for further information.
After entering the basic information, you will be taken to the full event screen. The only necessary next steps are to target the event and publish.
Targeting the event
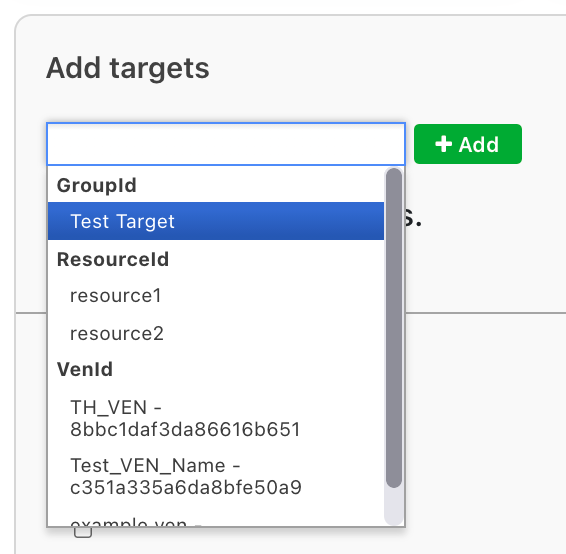
Adding targets to the event informs Canvas which VENs to send the event to. If no targets are added, the event will be created but will not be sent to any VENs. Whether you add a VEN(s) directly or add a target that is associated with one or many VENs (or both), the event will be sent to those VENs.
In the events page, go to the targets tab. Select the targets you would like to add and click 'Add'.
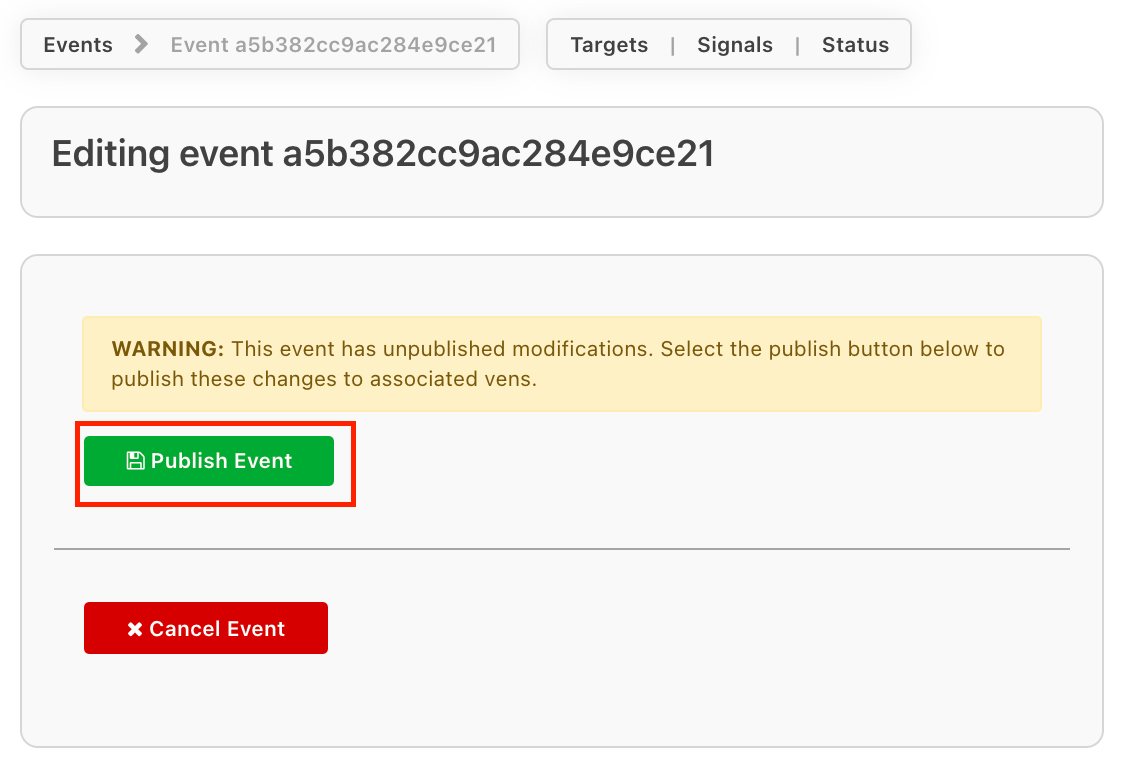
Publish event
After updating the information in the event, you must click Publish Event before the updated event details will be sent to the VENs.
Additional event customizations
Customizing signals and intervals
OpenADR events may have multiple intervals within a signal, and multiple signals per event. By default, the event will only have one signal with an interval that spans the full duration of the event. This may be updated by clicking on the Signals section of the event. Each signal has a consistent name, type and units, and intervals may be used to customize payloads across the duration of the event.
As an example use case for multiple-interval events: to share dynamic pricing data, you may have a 24 hour duration event with 24 hour-long intervals, where each interval's payload is the projected electricity price for that hour.
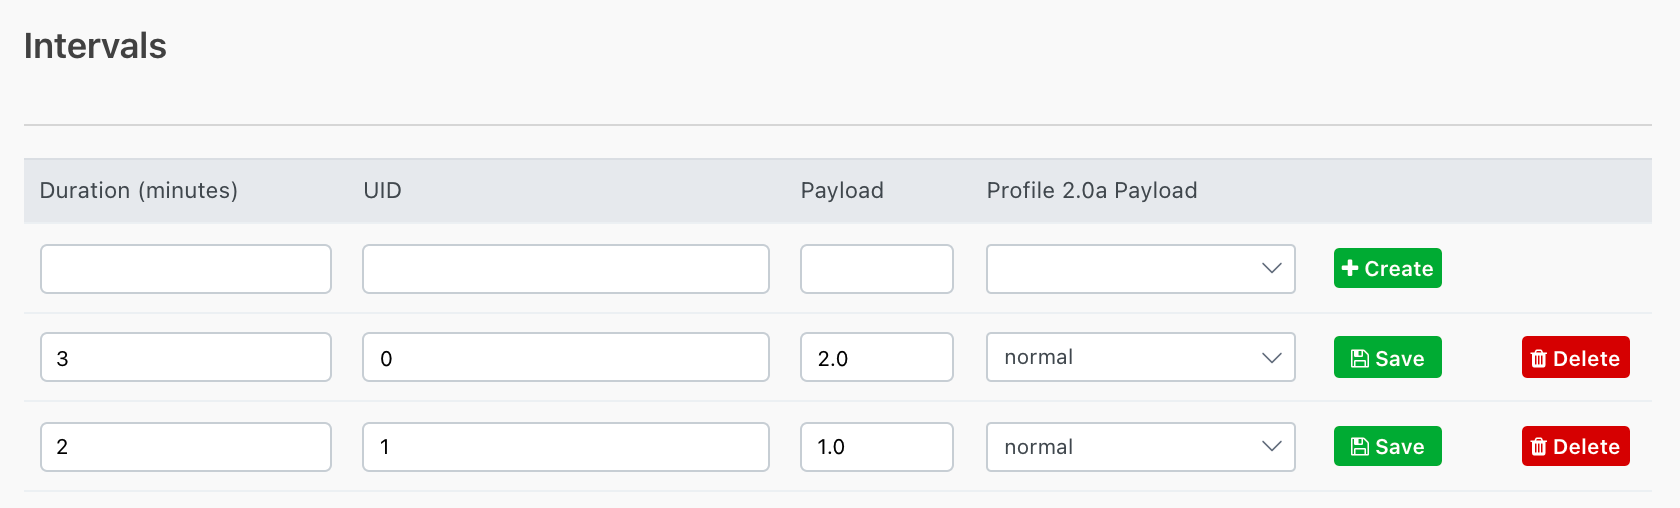
Customizing Intervals
To be valid, the intervals in a signal must span the entire length of the event. For example, any of the following interval configurations would be valid for a 120 minute event:
- One 120 minute interval
- A 5 minute interval followed by a 115 minute interval
- 12 10 minute intervals
To update intervals in a signal, click on the signal and scroll to the bottom. You may update existing intervals here and add additional intervals. The intervals will be ordered by their UID.
Add another signal
To add another signal to the event, click on "Add Signal", enter in the signal name and type and click "Create Signal". This will take you to the edit signal page, where you can scroll to the bottom and create intervals with payloads.
Updating other event timing aspects
OpenADR allows for a number of other event timing fields that are occasionally used to fine-tune event execution, such as event randomization, ramp-up period and recovery period.
To add these to the event, go to the edit event page, scroll down to the Active Period section and edit the fields as desired.